By this point, you have checked off many of the steps toward living in your log home. Buy land. Check. Purchase log package. Check. Hire builder. Check. The next item to mark off your list is perhaps the most exciting: Build your log home. “Once you start construction,” says Michael Morrison, vice president of Suwannee River Construction Company in Wellborn, Florida, “the clock starts ticking and you need to stick to your plan, because prior planning prevents poor performance.” The following steps outline the building process and keep your construction plan going smoothly toward making that final check on your list to log home ownership.
Acquire permits.
No building project can begin without the right paperwork completed. Assuming that your blueprints have been approved and any engineering fees have been paid, obtain the proper building permits from your local building department. Throughout construction, a licensed building inspector inspects the progress at various stages following all local and state codes. Plus, don’t forget to prominently post any permits at the job site.
 Access the site and clear the building area.
“Rule number one is access to the property and what size trucks can reach the property,” Michael says. First, cut the driveway and cover it with gravel. Then clear the building area leaving lots of space surrounding the actual home site. You want to leave space for tractor-trailer loads of materials to be delivered and unloaded. The trucks must be able to enter and exit the site. If this is not possible, secure offsite storage at a local lumberyard. “Have smaller loads delivered to prevent materials from sitting at the site unprotected,” Michael recommends. “Have the floor system delivered, then one load of logs, then more logs, etc.” To protect more fragile items, like windows and doors, rent a storage shed and have it delivered.
Site your home.
Walk the site with your architect, builder, and excavator to help establish where the home will sit. Ask yourself what views you want to take advantage of and how you want the home to be seen as you come up the driveway. “Start with rough staking of the lot to verify the placement and setbacks,” says Mike Nenahlo, project manager/general contractor of Wisconsin Log Homes in Green Bay. “At that time, you can be sure the home is properly positioned to take advantage of the views the home was designed for.”
Get the basics to the site.
Before construction begins, you must have some basic necessities in place. These include temporary electric to the jobsite, portable toilets, and dumpsters. Contract with a local company for a system where they dump the trash and return an empty dumpster. This keeps your jobsite clean and organized.

Start digging.
Now construction can begin with the digging and pouring of the footings and foundation. Once set, the first-level sub-floor is built and is ready for logs. “It is important to make sure that all framing is set up for log application with reinforced areas as needed,” says Mike. During this process, the mechanicals, HVAC, plumbing, fireplace chases and electrical are roughed-in.
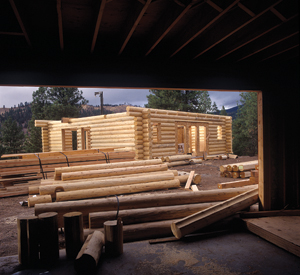
By the time framing is complete, the logs should be delivered and offloaded. Remember that when the 18-wheeler arrives, it is your and your builder’s responsibility to offload the materials—not the driver’s. So, have the proper forklift and manpower for the job and designate an area to put the logs until they are ready to be erected.
Stack it up.
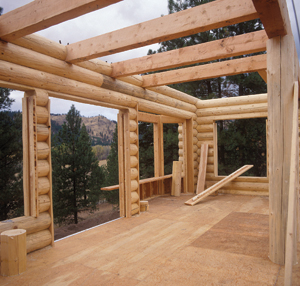
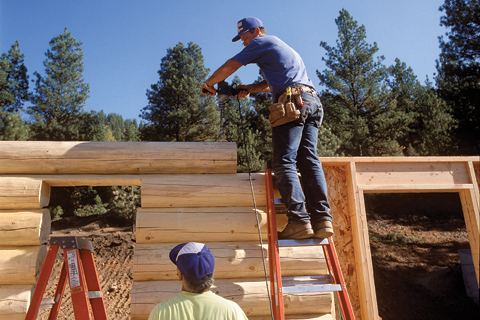
The crew now stacks the logs. Many log home companies provide a construction manual or instructions for this process. Remember to consult with your log home company contact if you or your builder have any questions. Once the logs walls are up, the roof system is built and finished off with sub-decking, sheathing, and felt paper. The windows and exterior doors are mounted and trimmed. Second-floor systems and stairs are built. During this time, the crews are also working on connecting the well, septic, and water as well as gas and electric. “If applicable, your radiant flooring or geothermal system will be prepped and installed,” Mike says, “along with any other solar or alternative energy options.” At this point, the home is considered to be weather-tight and work on the interior can begin.
 Finish the home.
Once the shell is at the dry-in stage, or weather-tight, the subcontractors and crew complete the home. This includes final installation of electric, HVAC, and plumbing. Flooring is laid throughout the house. The kitchen and bathrooms are finished with the installation of cabinets, countertops and sinks. Appliances are set up. Interior doors are mounted and interior trim work is done. Insulation is placed in floors and attic. Interior partition walls are painted. Outside gutters, downspouts, and final roofing materials are installed.
According to Michael Morrison, an average log home construction project typically takes six months. Knowing what is happening throughout this time gives you a good understanding of what to expect during this detailed project. Be confident when you put that final checkmark on your list that says construction complete. Check!

